My technique for making building is quite simple - I cut the basic shapes out of foamcore, glue them together, then add any details. It's not complicated, and I hope the photos will help you follow along.
A while back I started making some Spanish style buildings, but never finished them. They are all in various stages of completion. They will now join the queue to be completed.

I'll complete those, and share the details here, at a later date. For now, I am going to concentrate on a pair of new additions. I felt the town would need at least two new buildings. I wanted the town's centerpiece to be an impressive church, and also to have a distinctive administrative building with a colonnade along one wall.
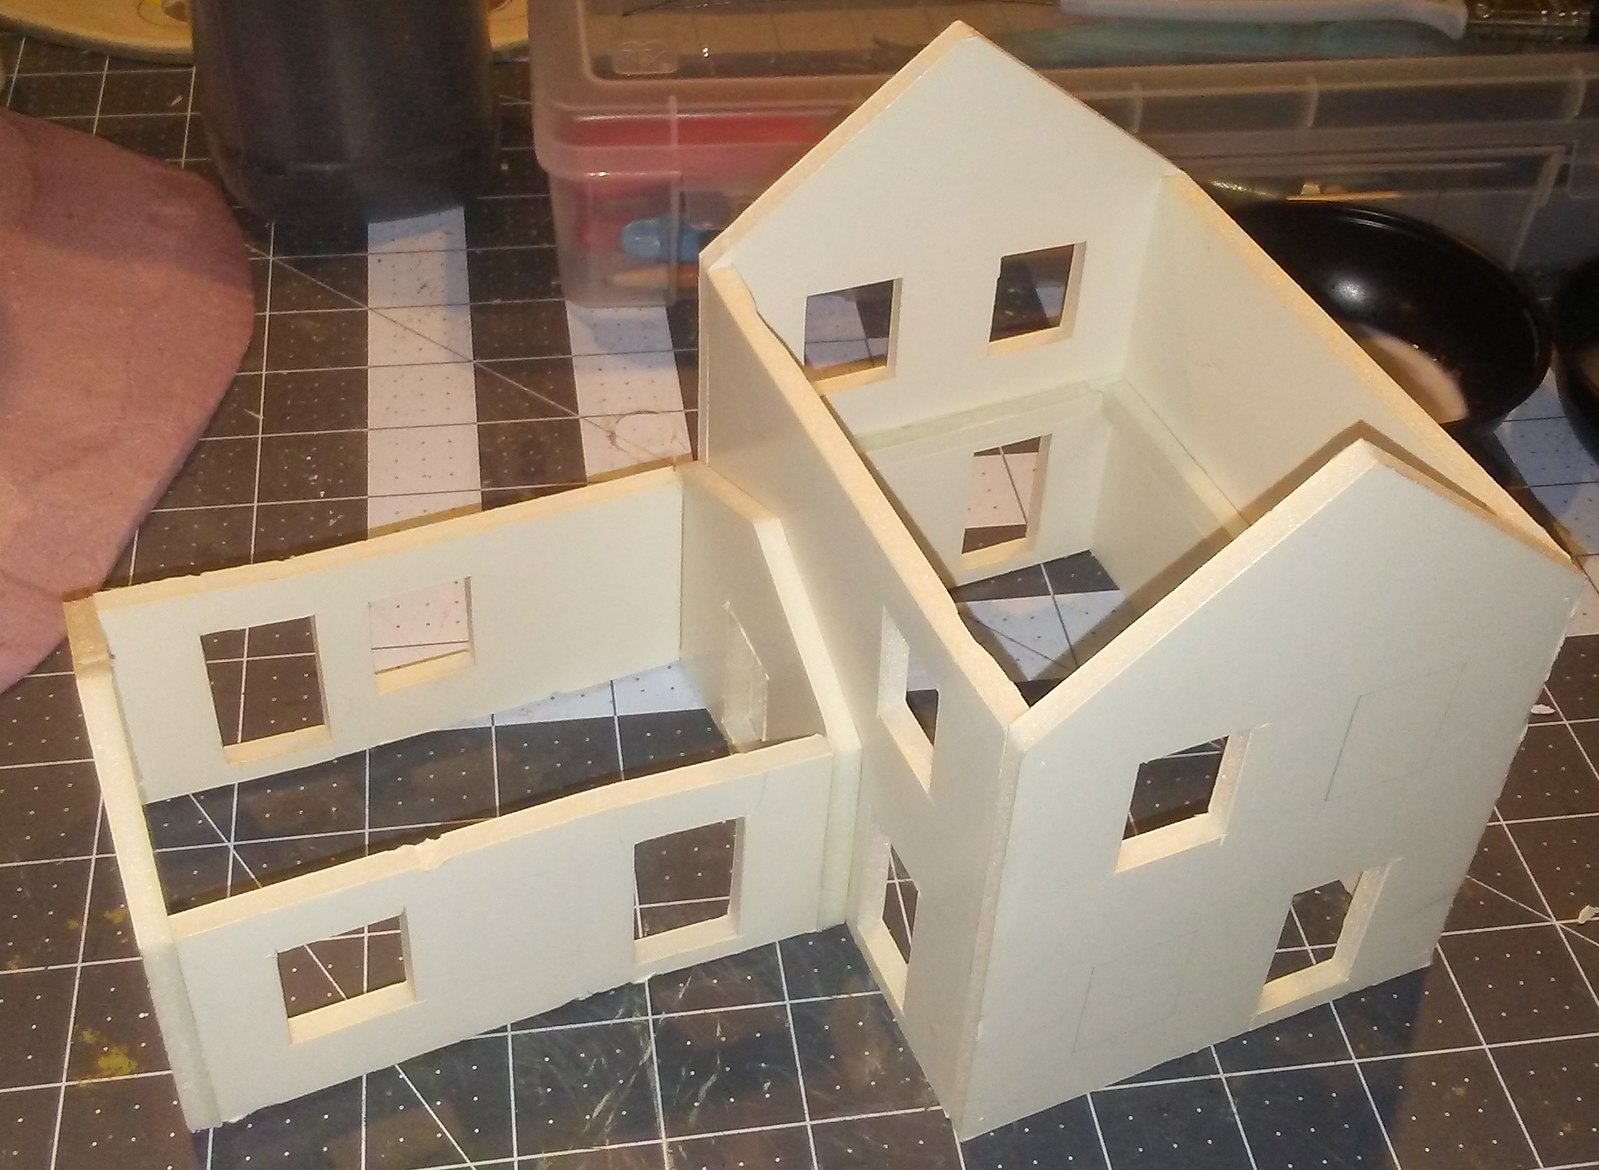
Since I thought it would be the easier of the two, I started with the administration building. I am what I call an "intuitive" builder. I tend to have an idea in my head of what I want to build, and sometimes I sketch it out, and sometimes I do not. Since foamcore is so easy to work with, I usually start cutting out shapes of what I think are the right size. Once I pick one to be the "main" wall, I can get my measurements for the other walls from it.
 |
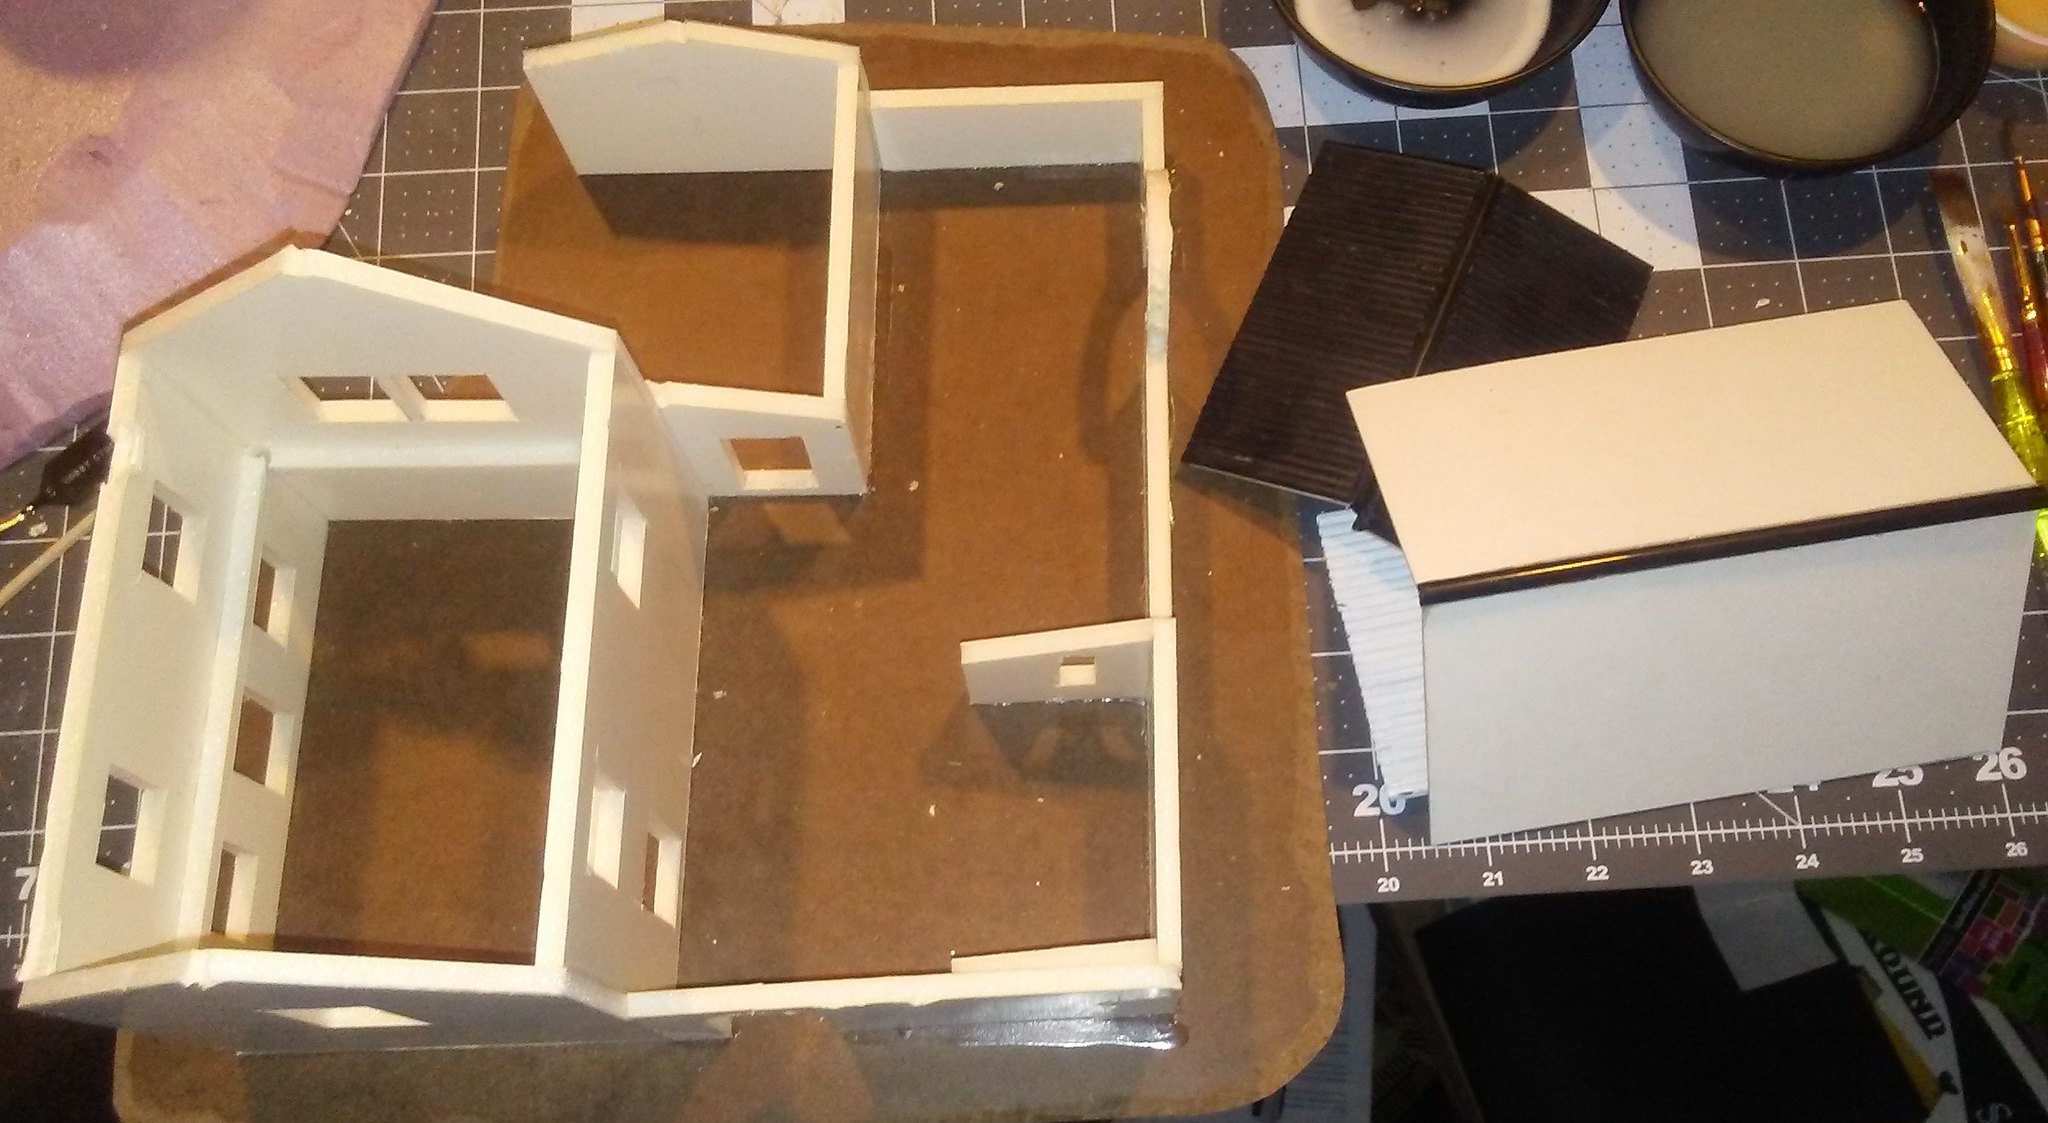
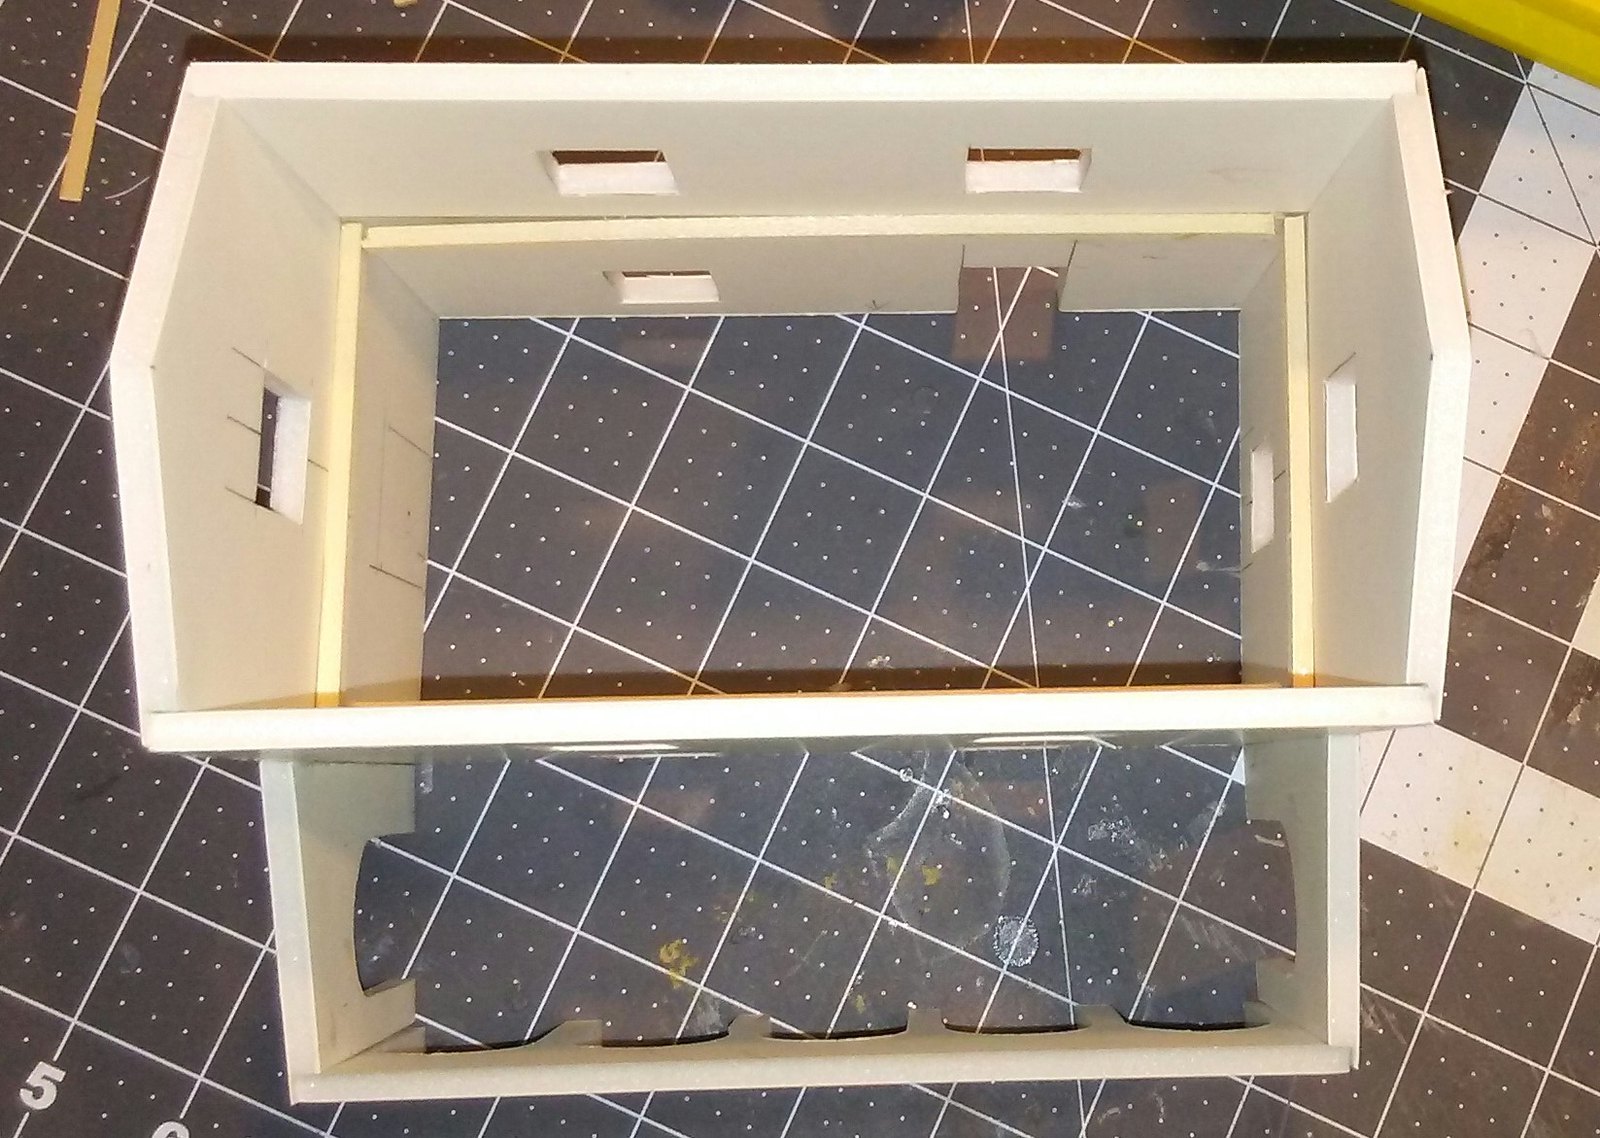
| The components for the administration building - cut and ready for assembly |
 |
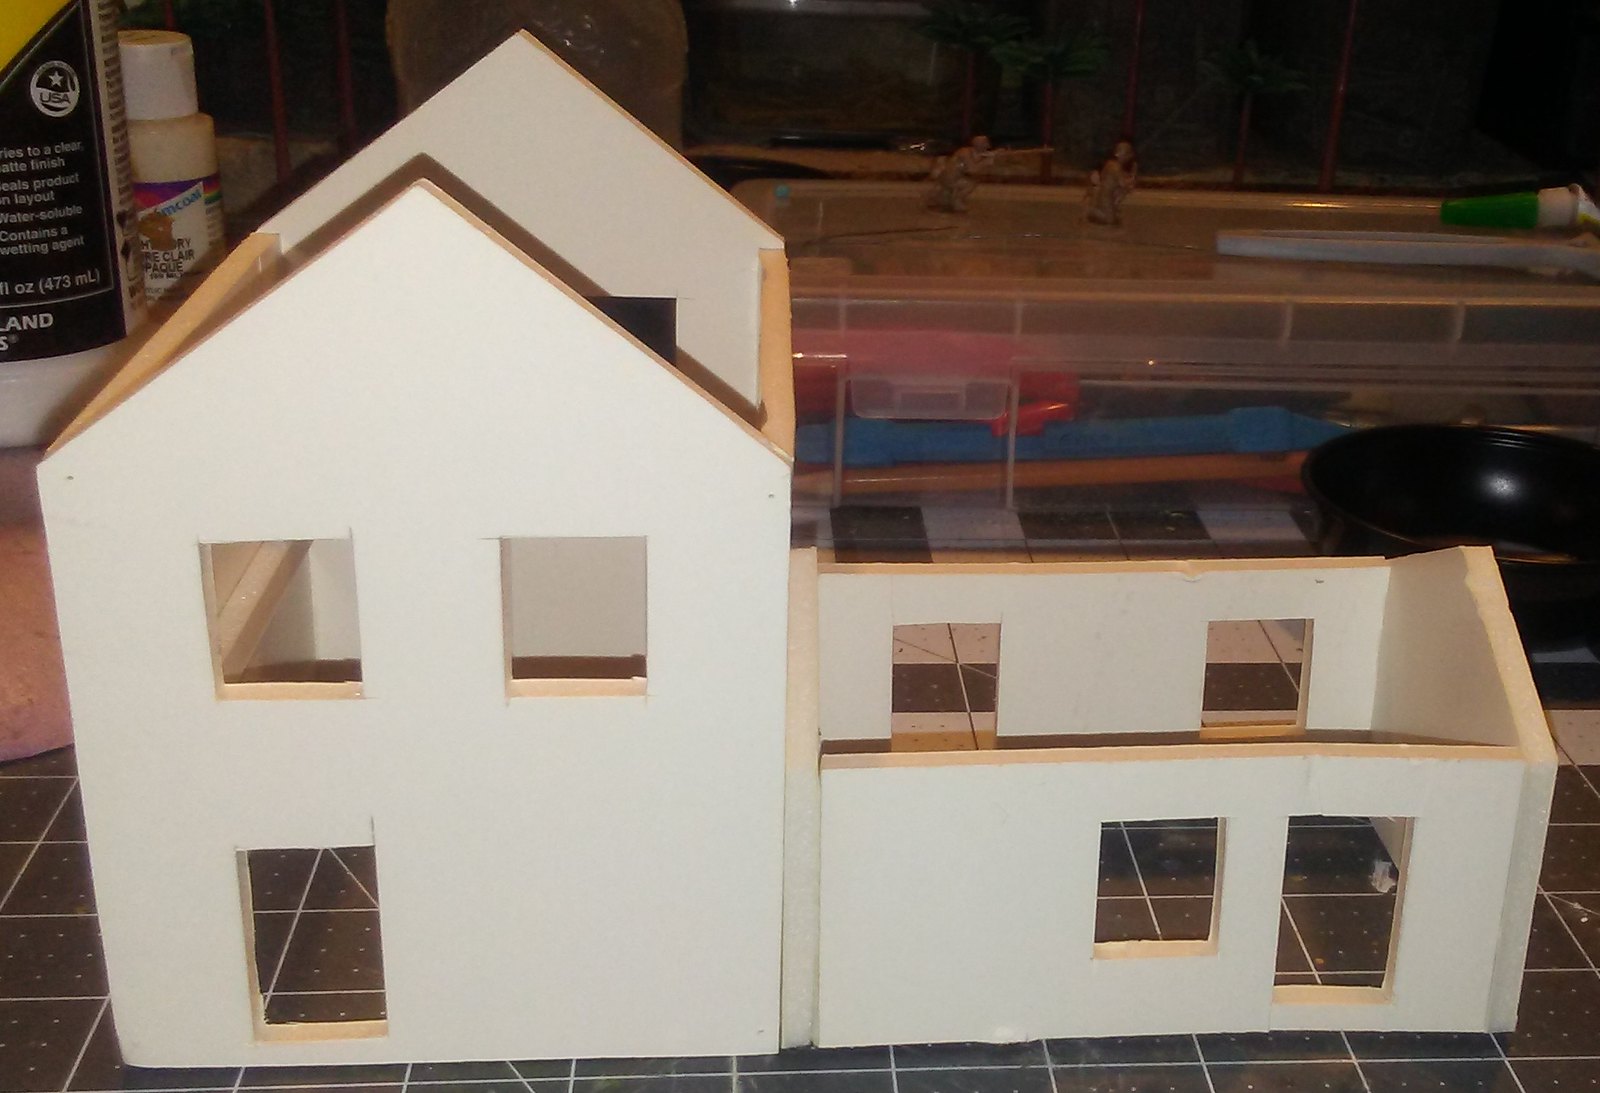
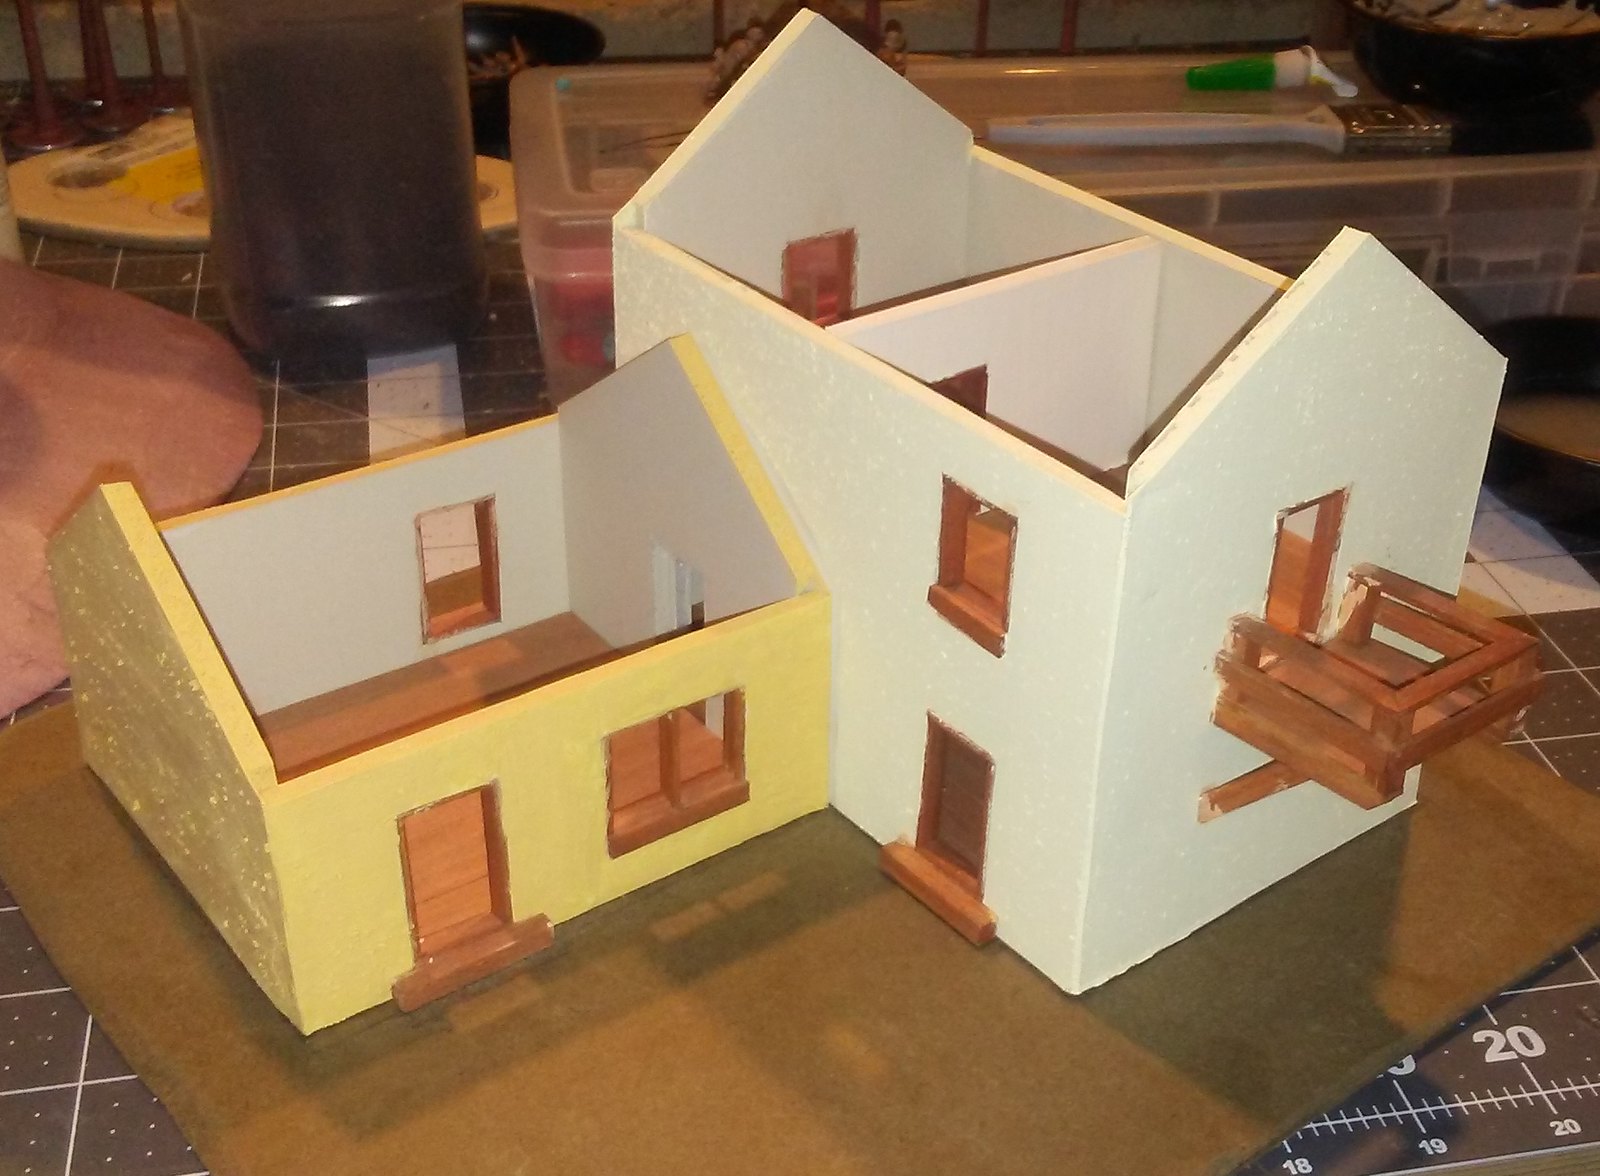
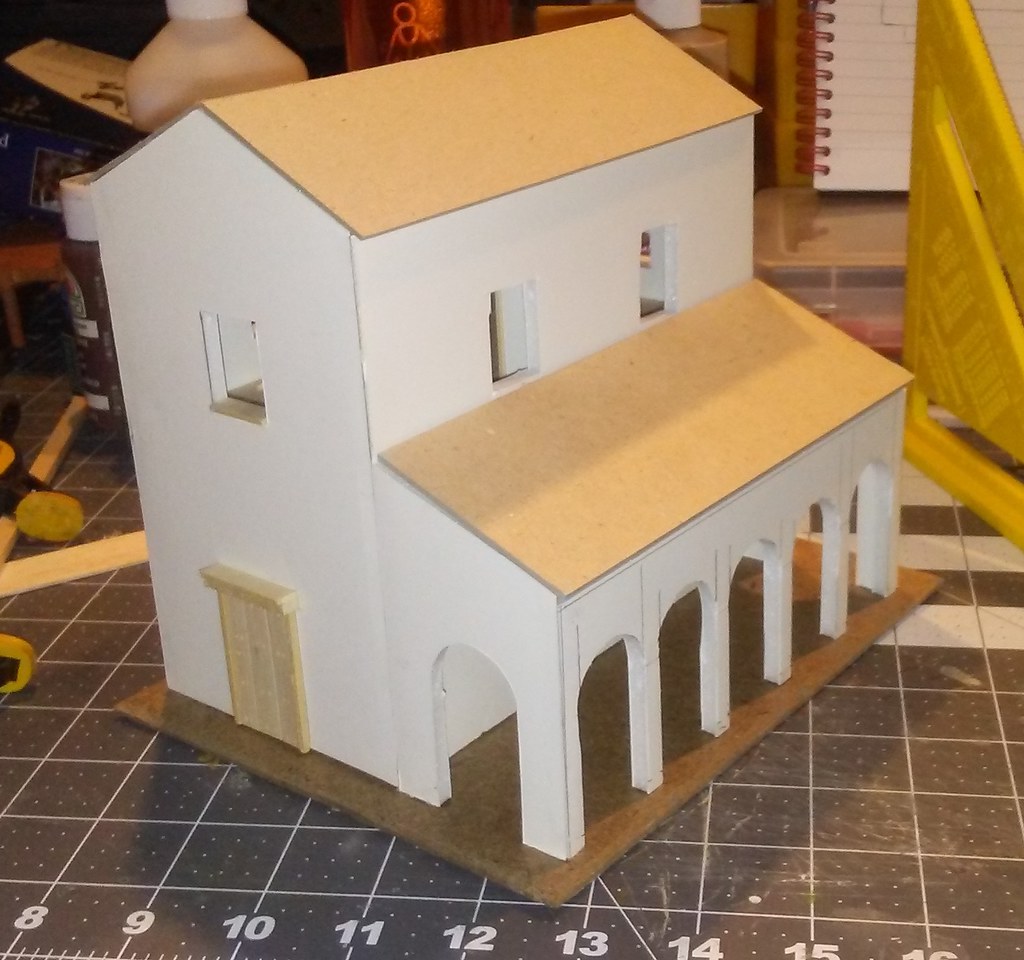
| Initial assembly of the administrative building |
 |
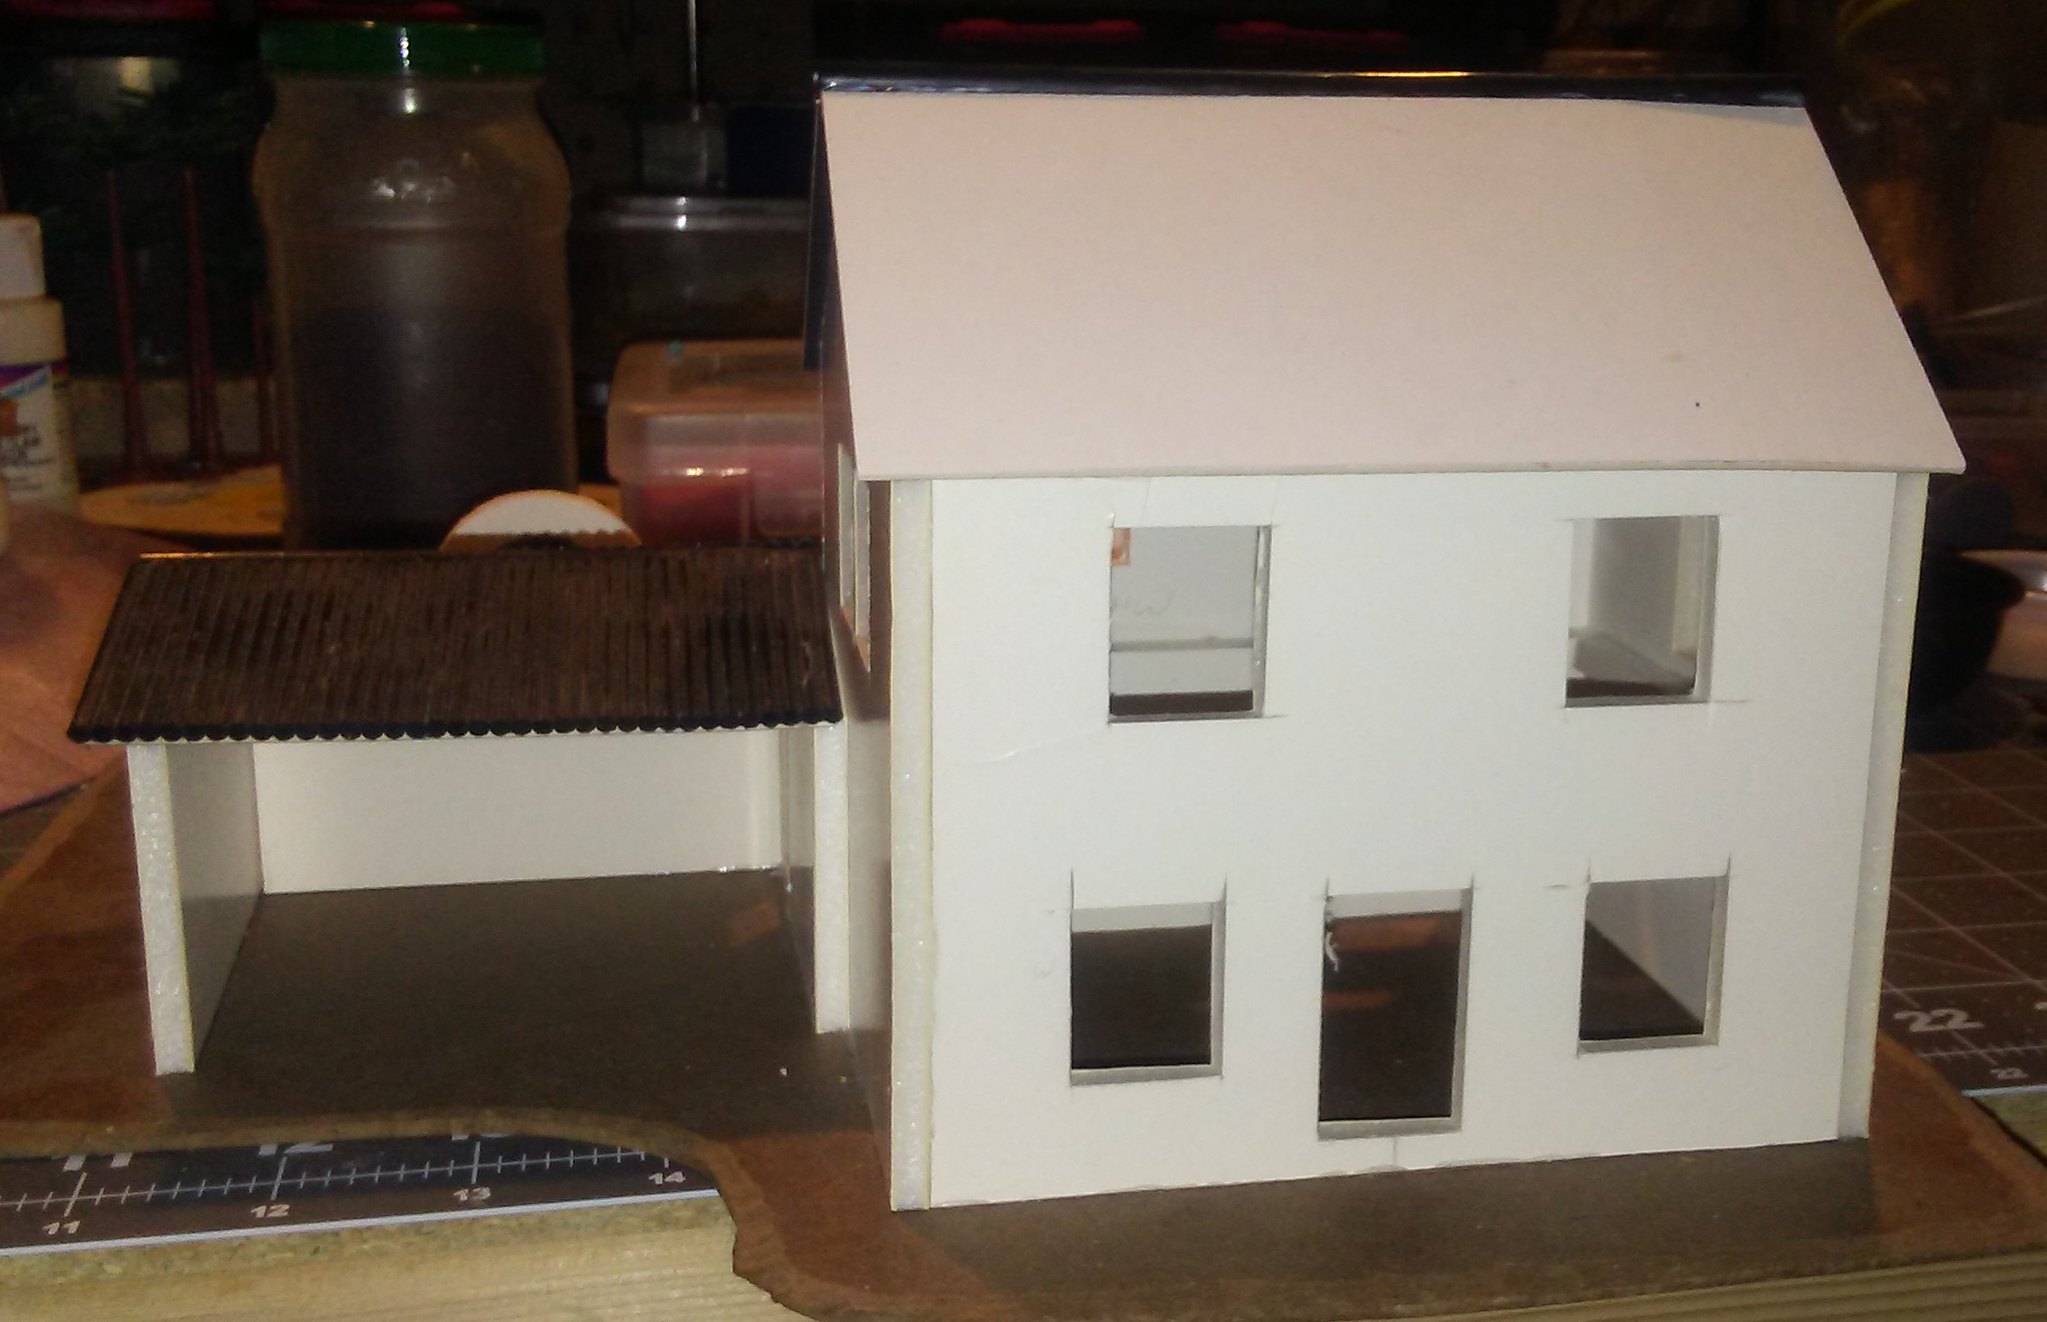
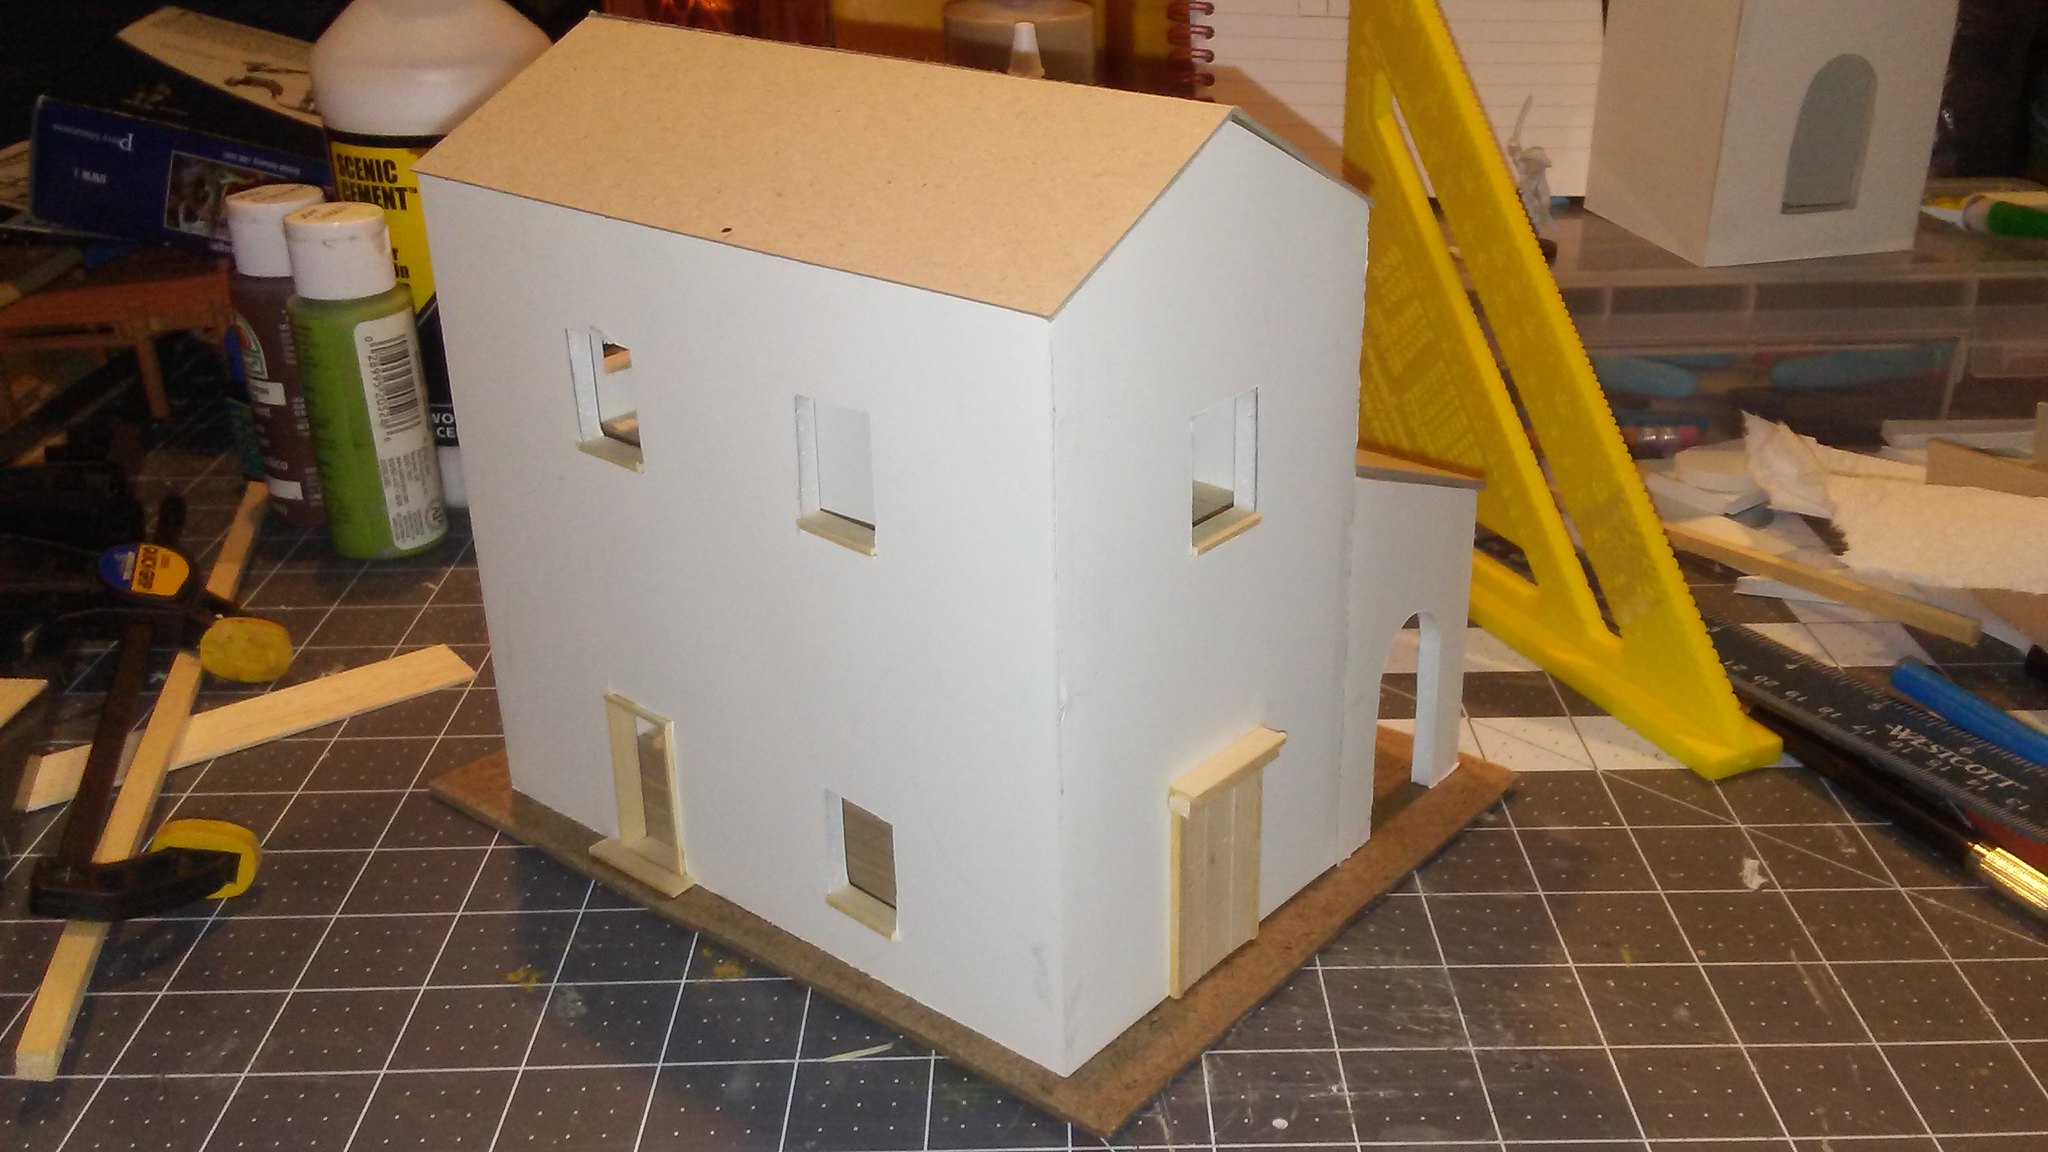
| Rear view |
 |
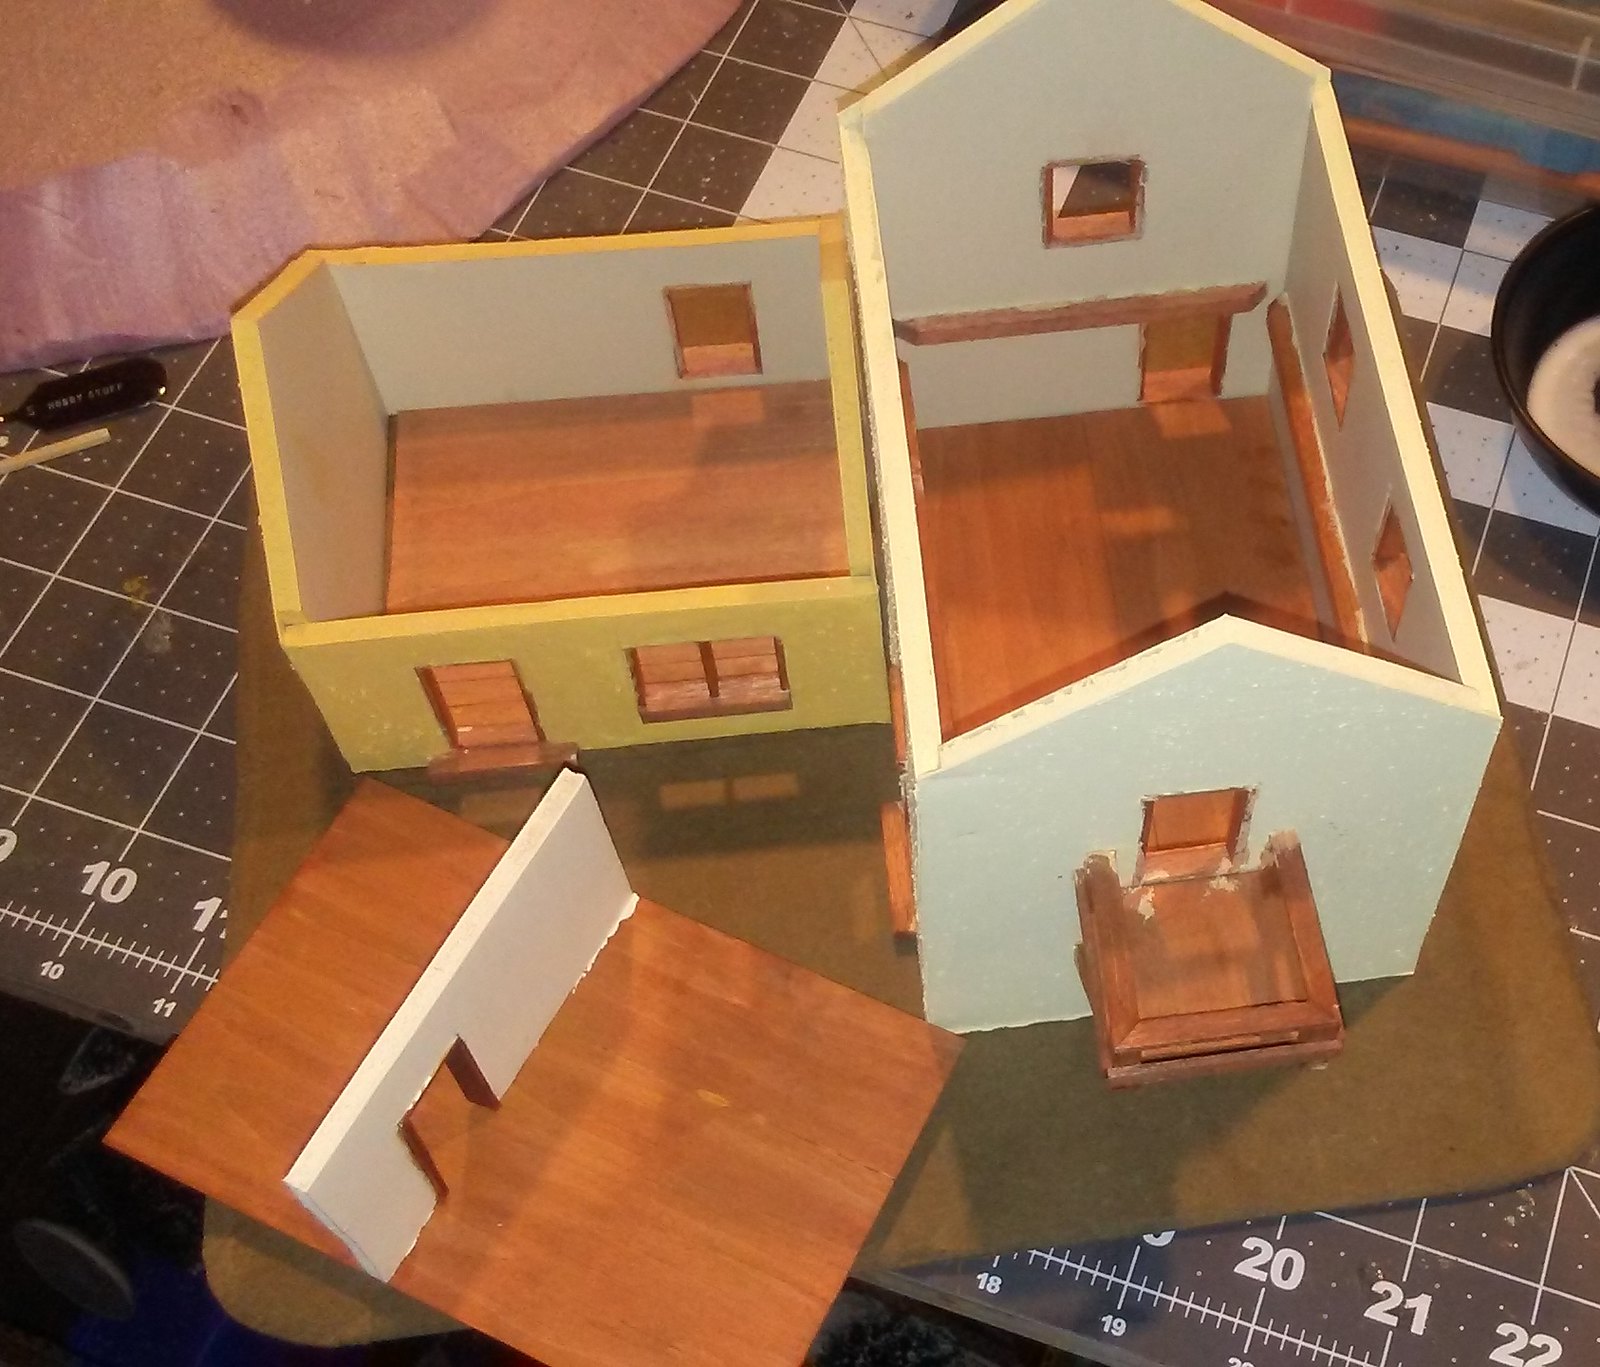
| Supports to hold up second floor |
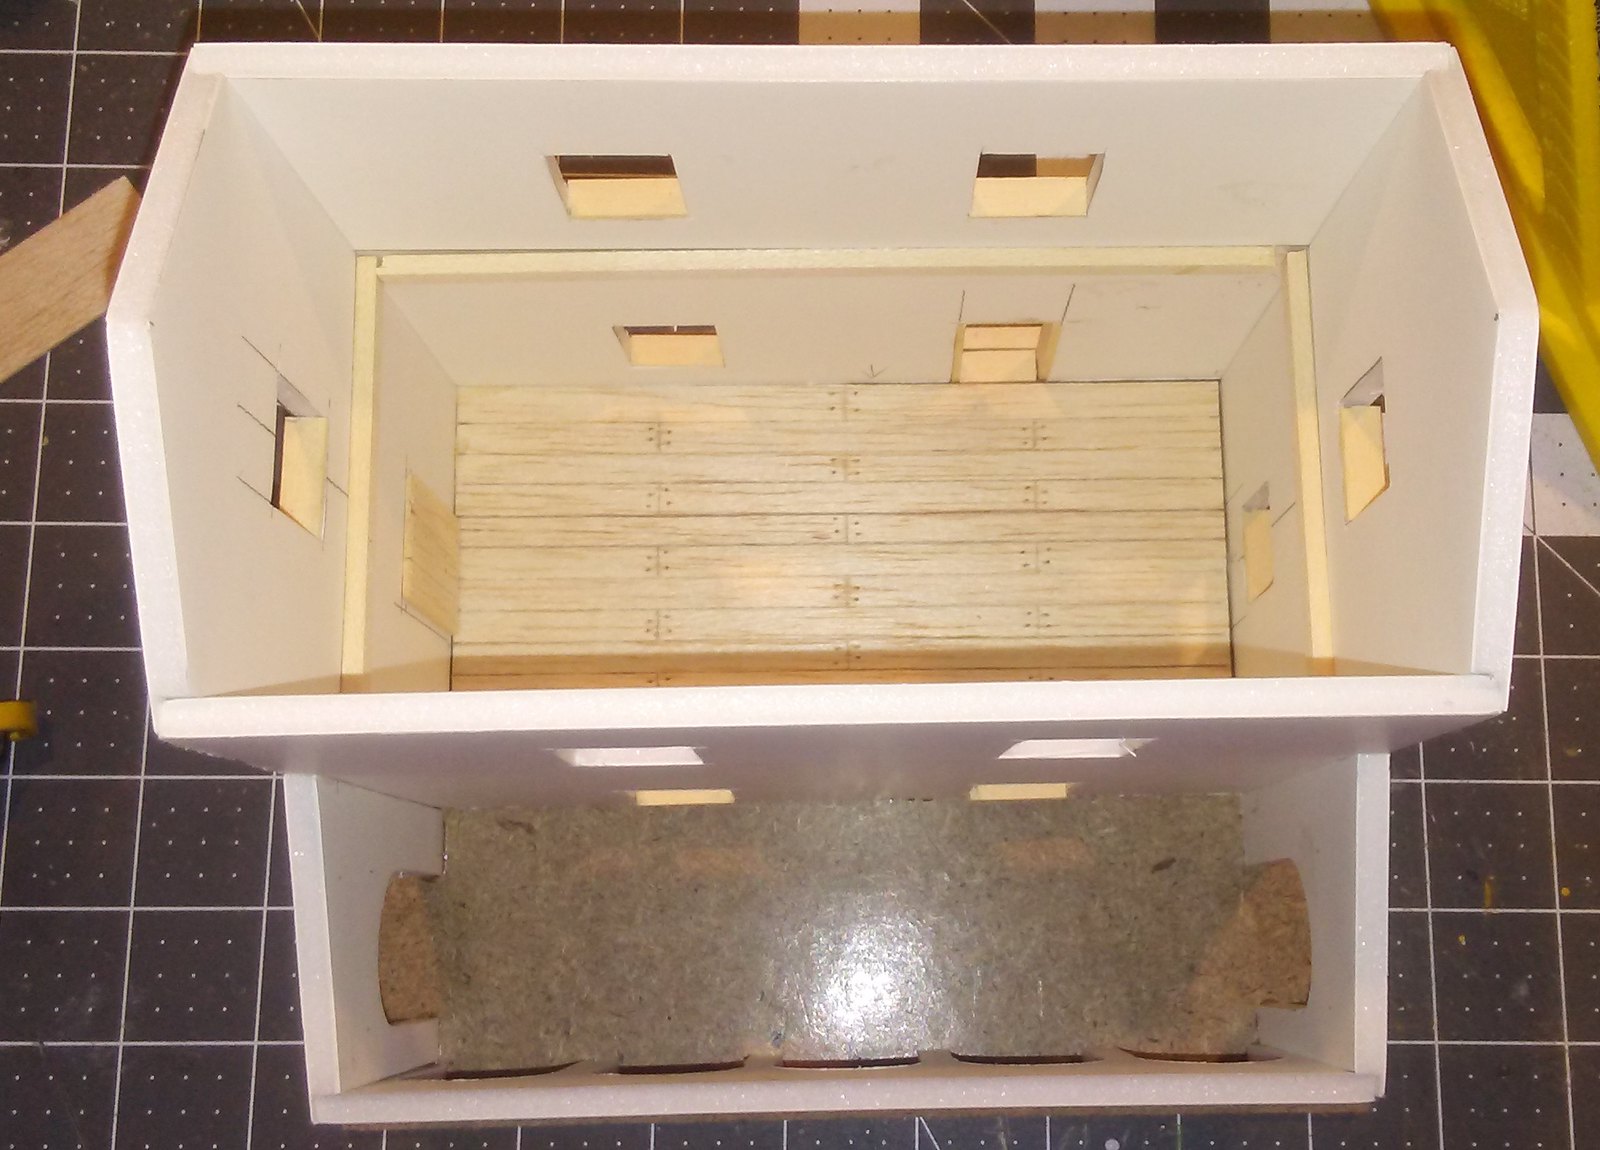
The top floor is the same, a sheet of scribed balsa with some balsa beams glued underneath for support. I also added an interior wall. This gives me something to grab to pull the floor out when needed.

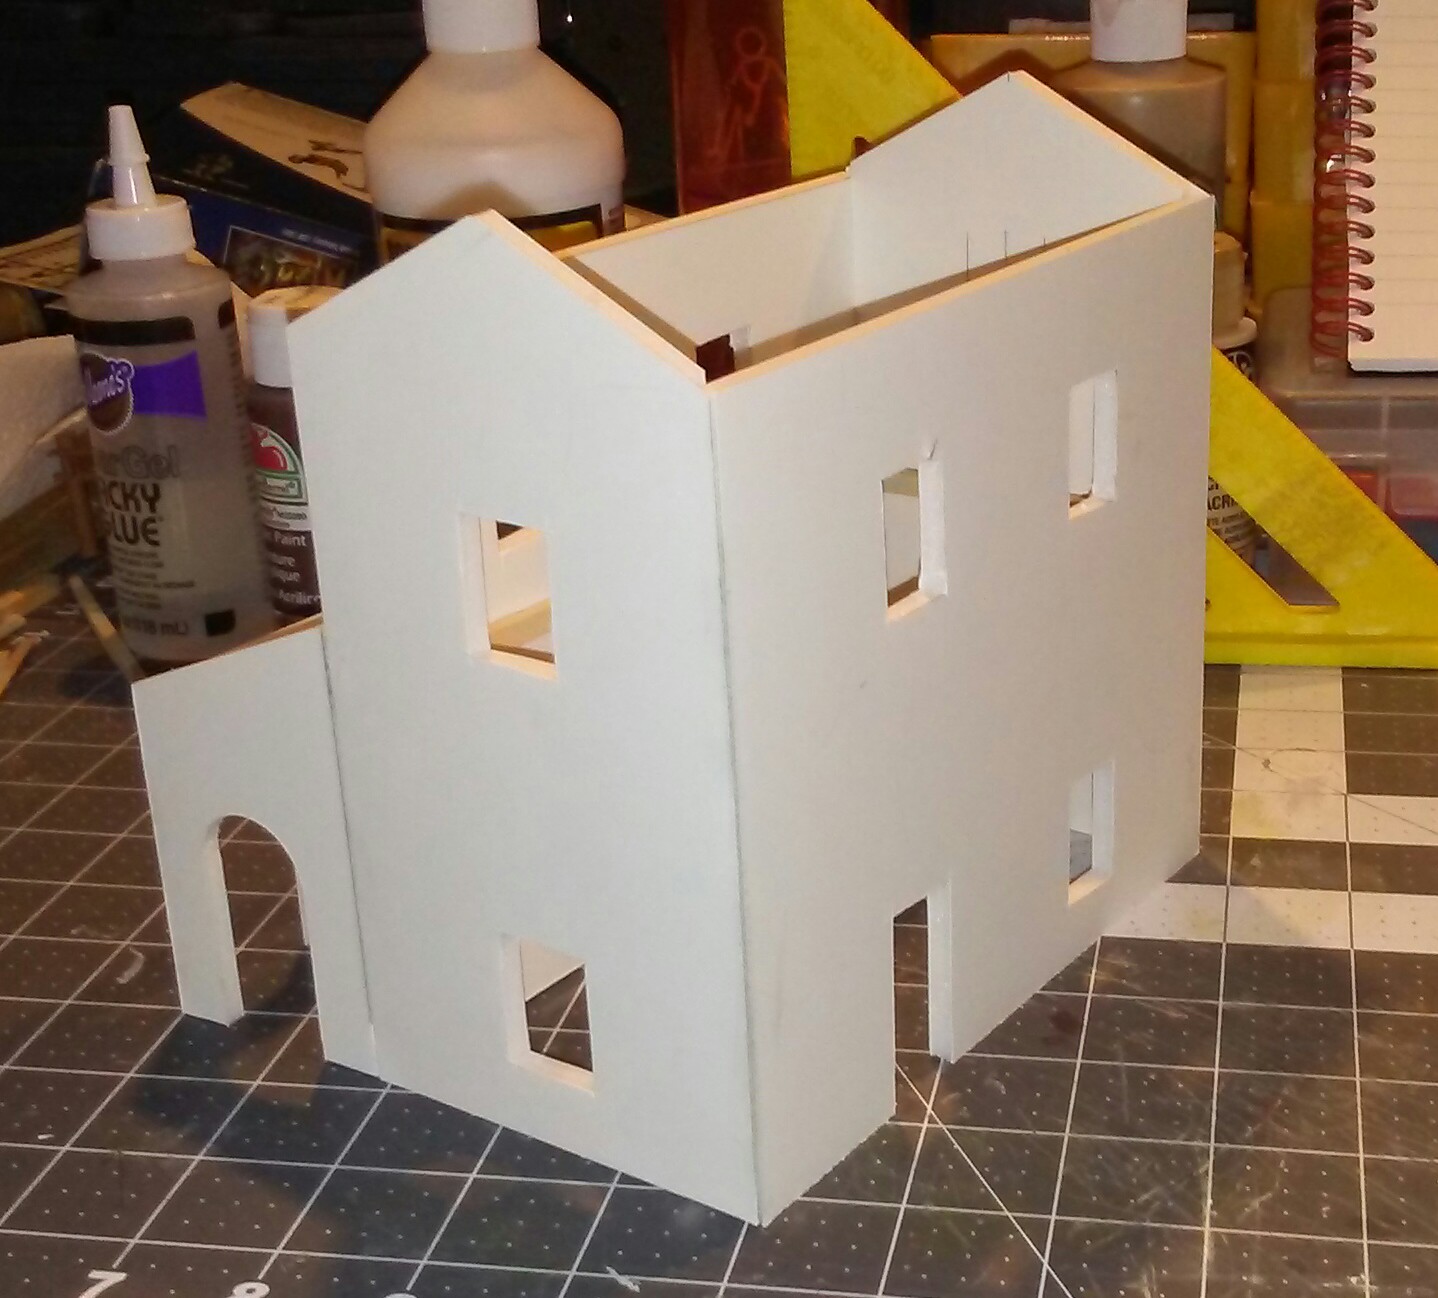
The roof sections are made of cardboard, cut to size. I make all the roof sections removable, so that troops can be placed inside the building.
Once I am sure the roof sections are of the correct size, I add textured plastic sheet to make them look like Spanish tile. I use Plastruct Spanish tile sheets. They are very easy to use, and make detailing the roof sections a painless and quick process. In the past I have experimented with gluing down thin straws or coffee stirrers, but that is very time consuming and not worth the effort, in my opinion. I've also used corrugated cardboard to simulate the effect. At least here in the U.S., most of the corrugated cardboard I have found is covered on both sides, not just one, so that one side needs to be removed before the cardboard can be used. For me this has also proved to be difficult, which is why I use the Plastruct sheets. I usually dislike using anything storebought when a cheaper alternative is available, but this is one exception I make to that rule.
 |
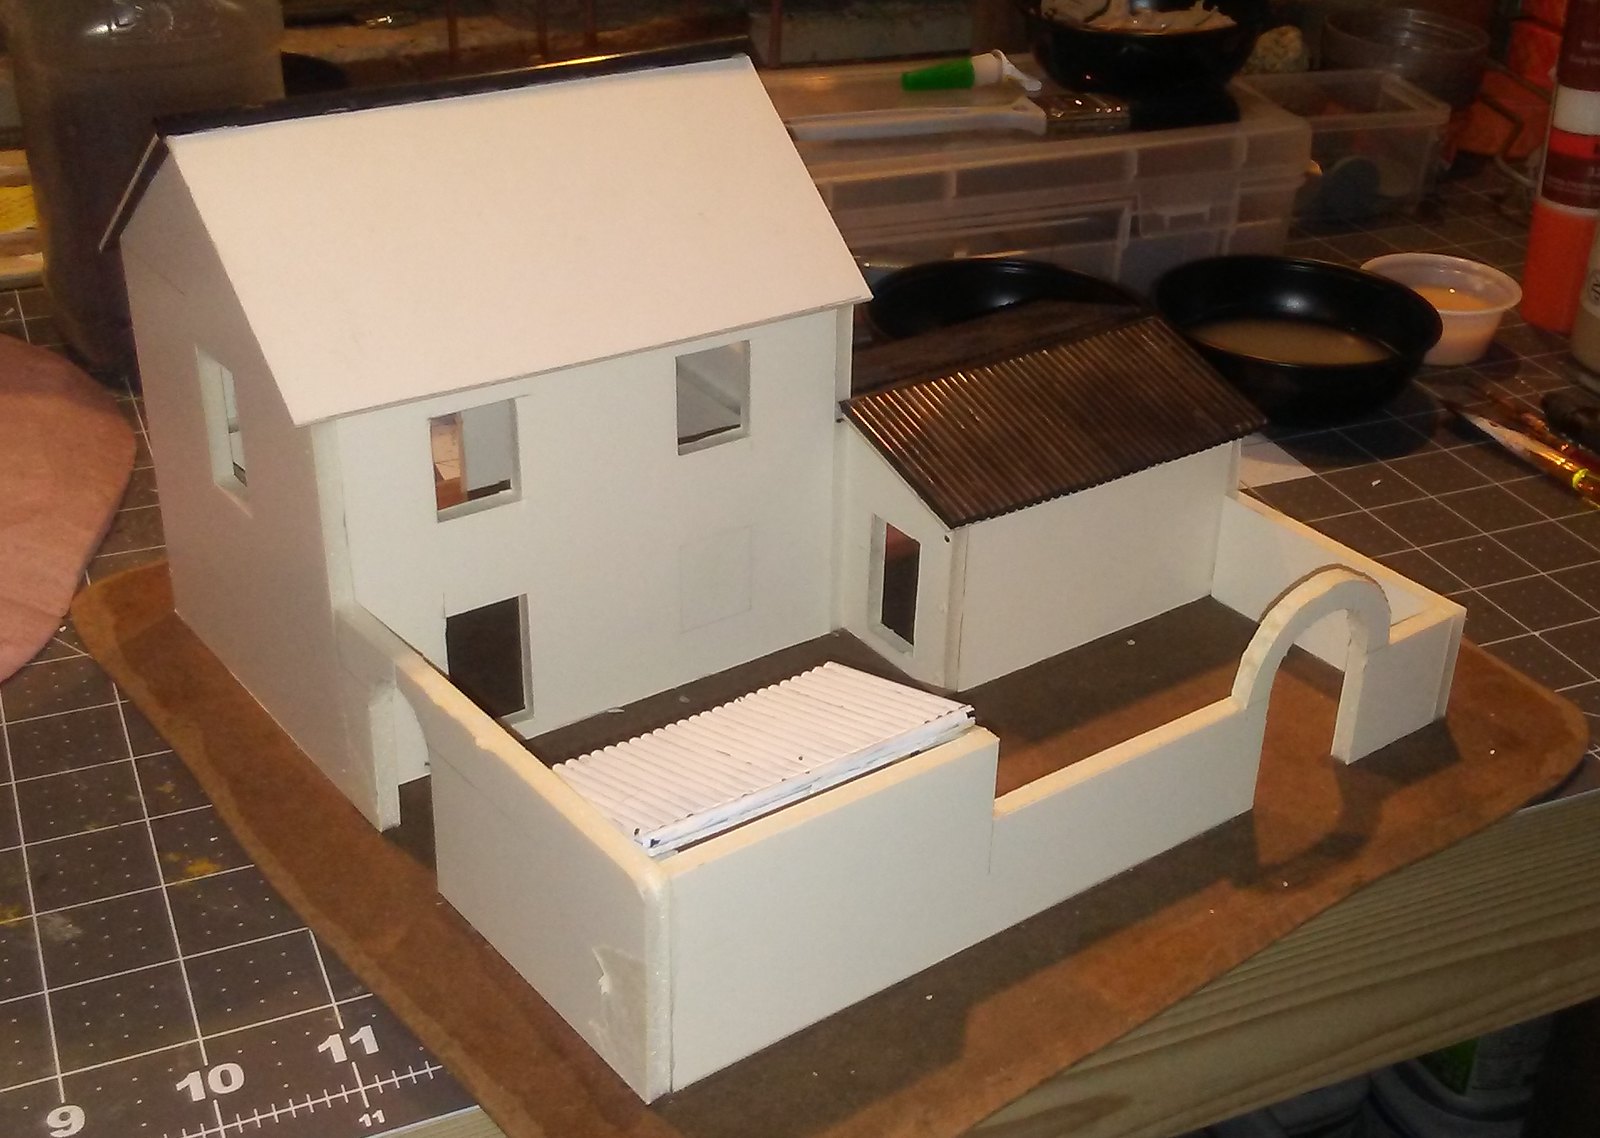
| Complete - ready for plastering and painting |
'Til next time.


1 comment:
This is useful! I've included a link to your work in my article - https://alkony.enerla.net/english/the-nexus/miniatures-nexus/miniature-hobby/miniatures-miniature-terrain-scenery-resources
Post a Comment